A motorcycle helmet is an important piece of your gear that has to be with you, rain or shine, and protect your head from injuries. However, just like anything, it needs proper care and maintenance to serve you for a long time.
In general, the maintenance of a helmet isn’t difficult, but if you need some tips, read on to learn how to clean your motorcycle helmet the right way.
What materials should I use to clean my motorcycle helmet?
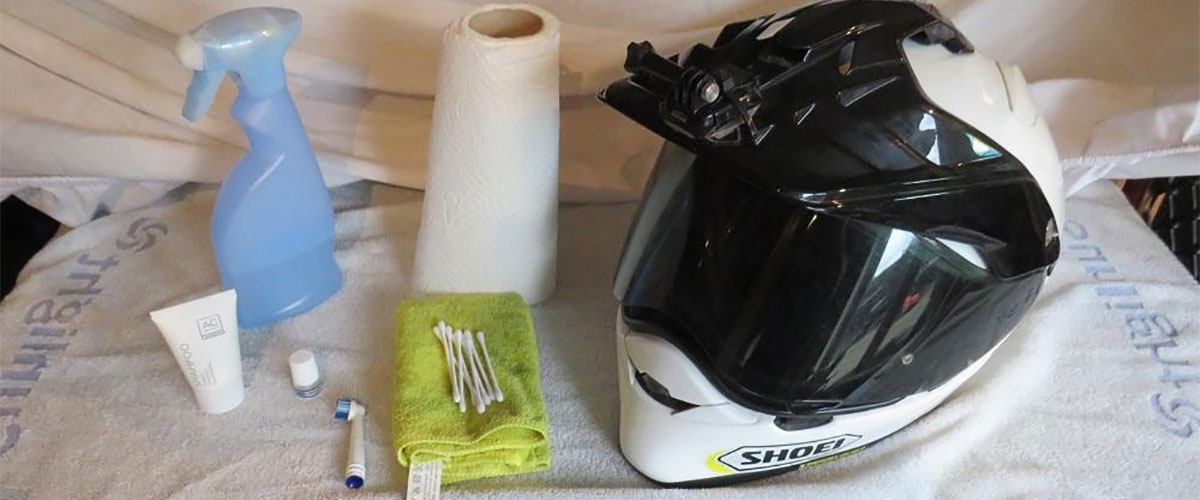
Surely, there’s no strict rule as to what materials should be used for a motorcycle helmet cleaning, and more likely than not, you’ll have preferences of your own. But before that, you need to get started with the basics.
First, you need microfiber rags. They have to be soft and clean (emphasis here). Remember a rag with dirt particles will not only leave dirty smears on your faceshield but may actually scratch it, deteriorating the helmet’s optical clarity.
You also need a toothbrush. It can be any brush, new or old, but make sure it has soft bristles. A toothbrush will help clean all small nooks and crannies of your helmet as well as remove dirt from vents and gaskets around the faceshield where a rag simply can’t reach.
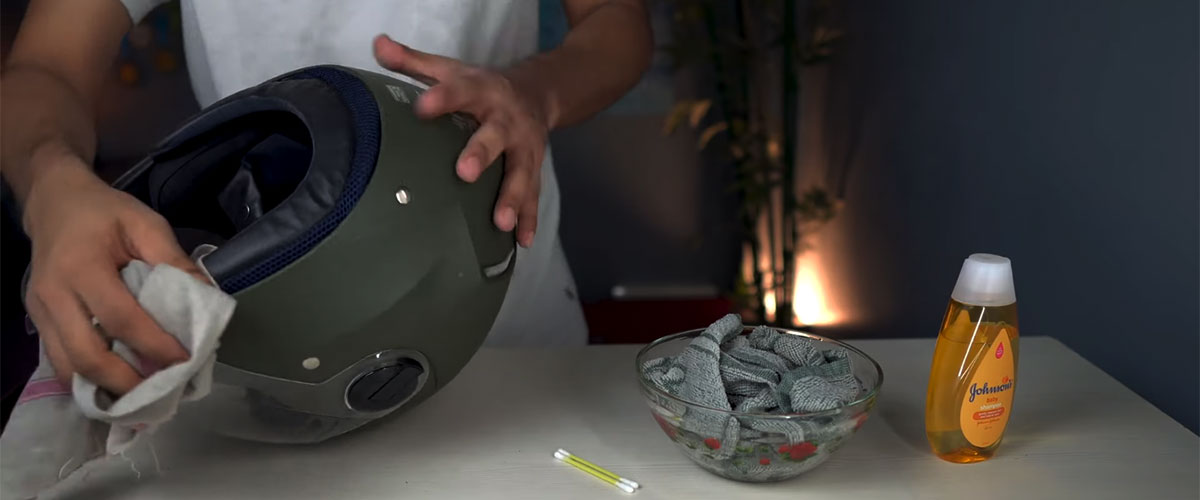
As a helmet wash, I recommend using baby shampoo. Of course, it doesn’t mean you can’t use any other cleaning agent, however, it’s critical that this wash contains no petroleum.
To loosen dirt and wash off shampoo, use warm water. If you have an air compressor, you can use it to clean the air vents of the helmet and blow off the extra water. Just decrease the pressure a bit first so as not to damage the liner.
What materials should not be used for cleaning?
As I’ve mentioned above, you can’t use a petroleum-based cleaner. Because of its aggressive nature, it can rough up the exterior of your helmet.
Same thing with dish soap and fabric softener. They are harsh and will degrade the moisture-wicking properties of the helmet’s liner.
Dryer sheets aren’t safe to use on the helmet, either. Most of these sheets contain harsh chemicals, which may deteriorate the surface of the shell over time.
This might seem obvious, but I’d mention it anyway: you can’t put the helmet liner in the dryer. The vibrations from the machine will loosen the texture of the liner, weakening its protective properties.
Finally, you can’t apply mechanical force. Scrubbing and scratching the visor or shell of the helmet will damage the material and break its integrity.
How to clean a motorcycle helmet?
Coming down to cleaning, below, I’ve outlined the five easy steps on how to clean a helmet the right way. However, first things first, be sure to check your owner’s manual for any specific manufacturer guidelines.
Step 1. Prepare the helmet for cleaning
Remove all electronics and other accessories
Before you get your shampoo and the rag, what you need to do first is remove all electronics and accessories that come attached to the helmet. I know, this sounds pretty obvious, however, as practice shows, a lot of people forget to do it, which often leads to the failure of important components.
Remove the interior of the helmet
After you remove antennas, microphones, and a Bluetooth connector, you can proceed to remove the helmet’s interior. Whether the liner and the comfort pads of your helmet are attached with snaps or with a hook-and-loop mechanism, in most cases, all you will need to do is tug at them a few times. However, in case your helmet has a different design, it’s never a bad idea to consult the guidelines provided by the manufacturer first.
Prepare the helmet’s outer shell
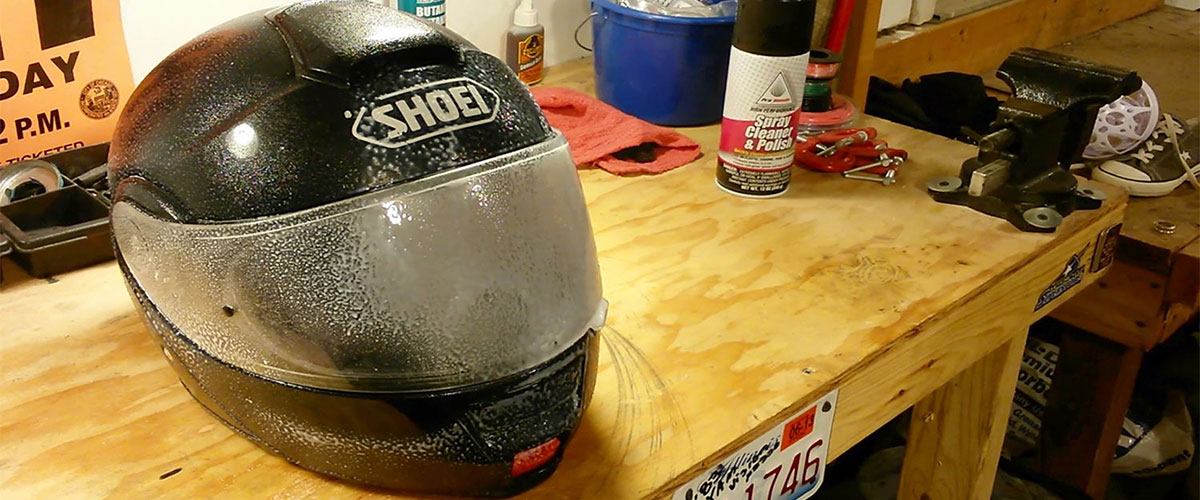
At this step, you’ll need warm water and a microfiber rag. Soak the rag in water and let it stay on the shell for a while. This will help dislodge ingrained dirt and, as a result, cut down the time needed to clean the helmet later.
Step 2. Clean the outside of motorcycle helmets
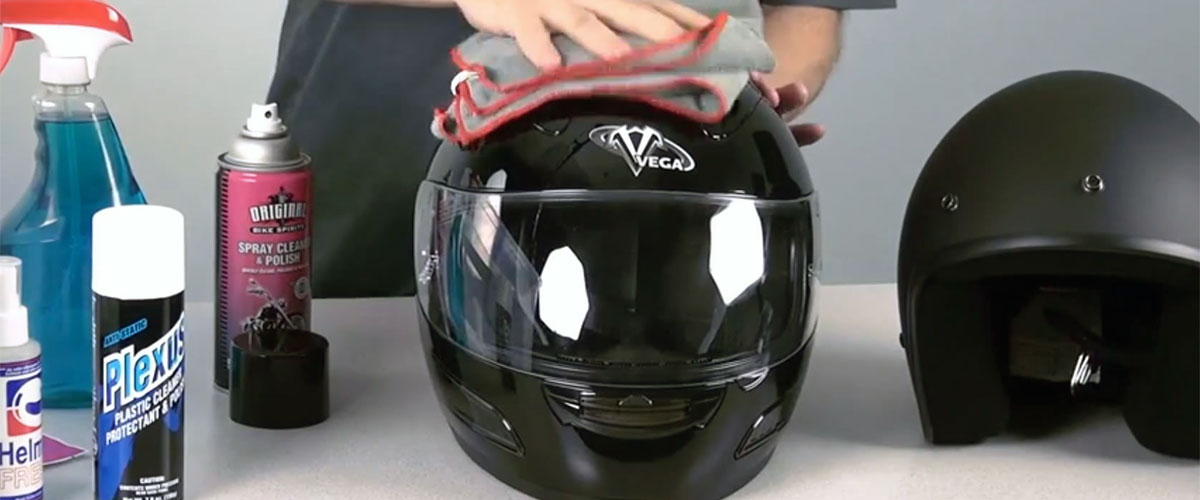
Remove the wet rag you’ve left on the helmet, take off the visor and faceshield, and set them aside. Now you can clean the outside of your helmet. To prevent dirty smears, be sure to always use a clean, preferably new microfiber cloth. If you notice dirt and dead bugs in spots where a rag can’t reach, use a toothbrush. Stubborn debris can be removed with special motorcycle helmet cleaners, though, in most cases, you should make do without them. Like I said, using cleaners and chemicals requires caution.
Step 3. Clean the helmet visor
How to remove scratches from motorcycle helmet visor?
Because faceshields and visors usually feature anti-fog or/and UV coating, it’s necessary to treat them with special care. To achieve the best effect, I recommend placing a wet rag over the faceshield the same way as you did when cleaning the helmet’s exterior. This will help loosen dirt and make the job a whole lot easier. Also, be sure to use some mild soap. It will act as a lubricant between the visor and your fingers, masking small scratches.
Clean the internal sun shield
In case your helmet comes with a Pinlock shield, you’ll need to be even more careful with it. It has a very easy-to-scratch surface that can be damaged by the slightest touch. Therefore, before you get down to cleaning, make sure to remove it from the lens first. Now, carefully clean both sides of each piece with warm water and let it air dry. If you’ve got no time to wait, you can use a hairdryer. Remember though that no clothes or dry sheets can be used to remove excess water as those might rough up the delicate surface of the visor.
Step 4. Clean the motorcycle helmet liner
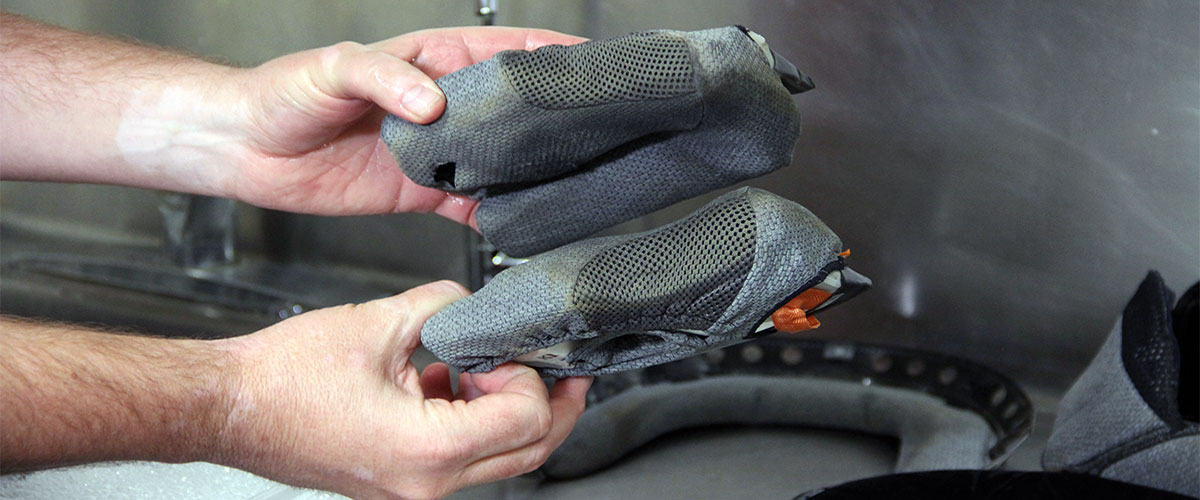
The liner is the part of the helmet that collects the most dirt, therefore it needs a very thorough cleaning. Fill a bucket or sink with warm water and mix it with mild soap or baby shampoo. Personally, I prefer baby shampoo due to its gentle nature, but you can choose whatever you like. Now, clean the lining, gently massaging away stains, dirt and dust. As an alternative, you can wash it in a washing machine. If you decide to do that, though, be sure to use a special mesh garment bag and run the machine in a delicate setting.
Step 5. Dry your helmet
Take the liner out of the washing machine straight after the cycle’s over and let it air dry. To cut down the drying time, you can use a fan. Beware, though, that applying too high temperatures like those of a hairdryer is quite dangerous as it may damage the glue that holds pieces together.
Motorcycle helmet care tips
Properly maintaining your motorcycle helmet will allow you to keep your helmet in top-notch condition for a longer time. With that in mind, make sure to follow the next recommendations:
- Apply a coat of automotive wax on the helmet straight after washing it. This will not only allow the surface of the shell to repel dirt and bugs but also make cleaning a lot easier in the future.
- Bring with you a pack of cleaning wipes when heading for a ride. Wiping away dirt before it hardens will make the upkeep of the helmet a lot less of a hassle.
- Wear a bandana or scarf underneath. It will serve as a shield against hair oils and sweat and prevent the liner from getting dirty.
- If you notice bug guts on the shell of the helmet, remove them using a wet towel.
- To prevent bad odors, always let your helmet air dry after a day of riding.
Proper storage of the helmet
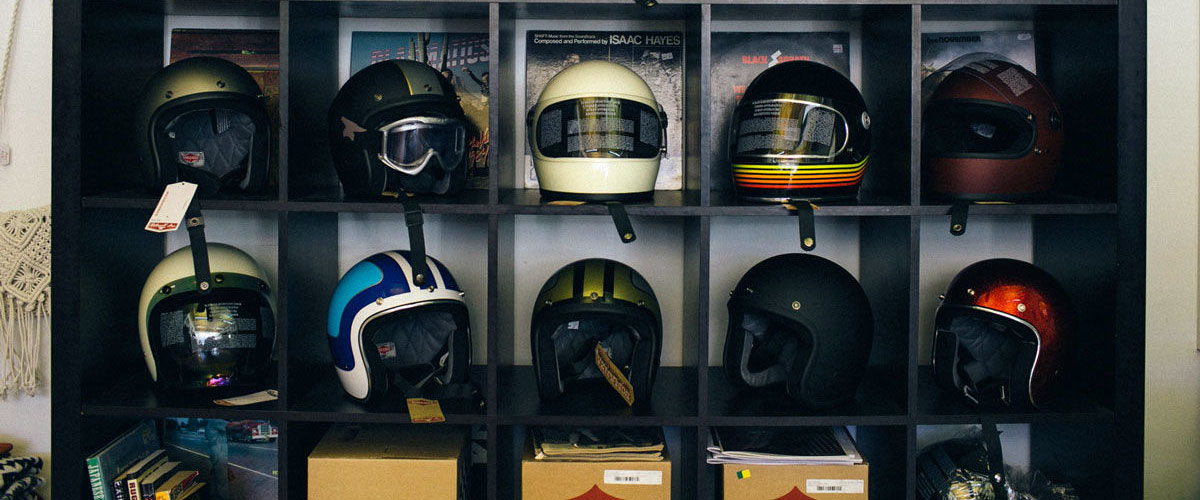
Despite its seemingly solid design, a motorcycle helmet needs proper storage and protection when not in use. Therefore, you should treat it with care and make sure that it no way goes in direct contact with anything that may somehow damage its surface.
Be sure to never store any heavy objects inside the helmet. Not only will this deform the padding, but also it can lead to the appearance of indentation in case the helmet falls to the floor.
Besides that, it’s not recommended to place it on a hanger. As in the case of the former, this will create dents in the foam, making the padding less impact-resistant.
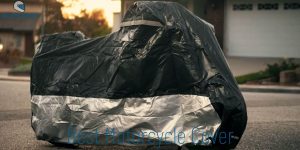
So, how do you store the helmet then? The best and the only right way to store the helmet is to use a special helmet carry bag. In most cases, you get this bag together with the helmet. However, if your helmet comes without it, you can always buy one from specialized bike shops. Storing the helmet in this bag will protect it from the elements and keep the bugs out, too.
If you don’t use the helmet for a long time, find a dry and dark place for it. What you want is to store it away from the direct sunlight.
If you follow these tips, you should be able to significantly extend the lifespan of your headgear!